
How to follow a WBuilds step-by-step build guide
A quick tour of the guide screen: materials first, one step at a time, and the 3D view when you need another angle.
2 min read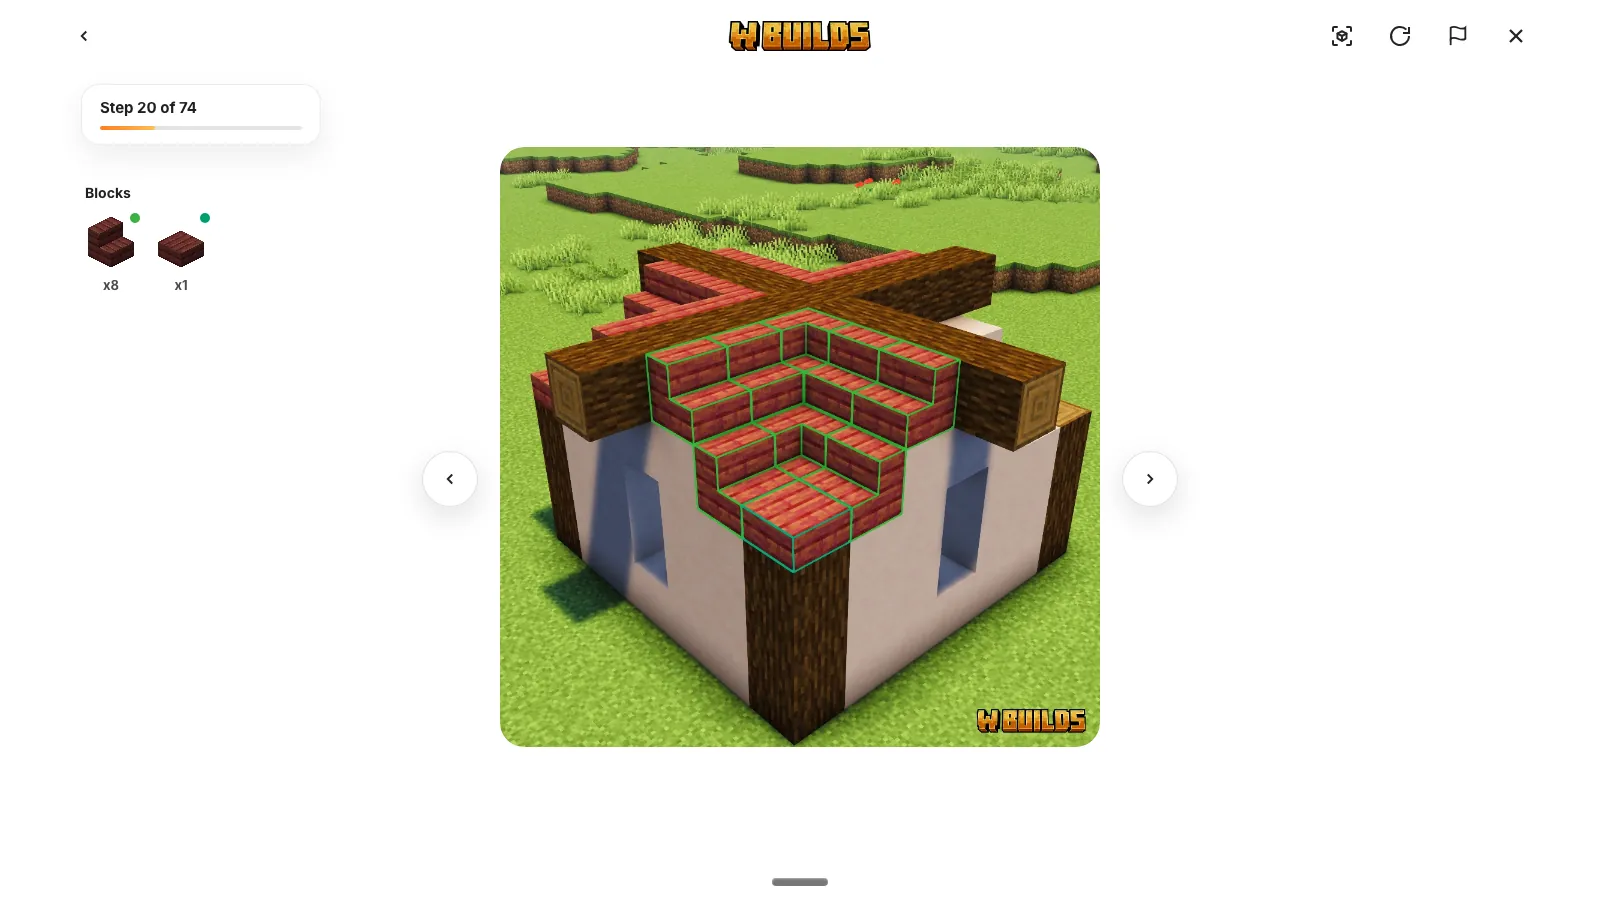

Published
Every WBuilds guide is built the same way, so once you know one, you know them all. Here is the route from “that looks cool” to a finished build.
1. Check the material list first
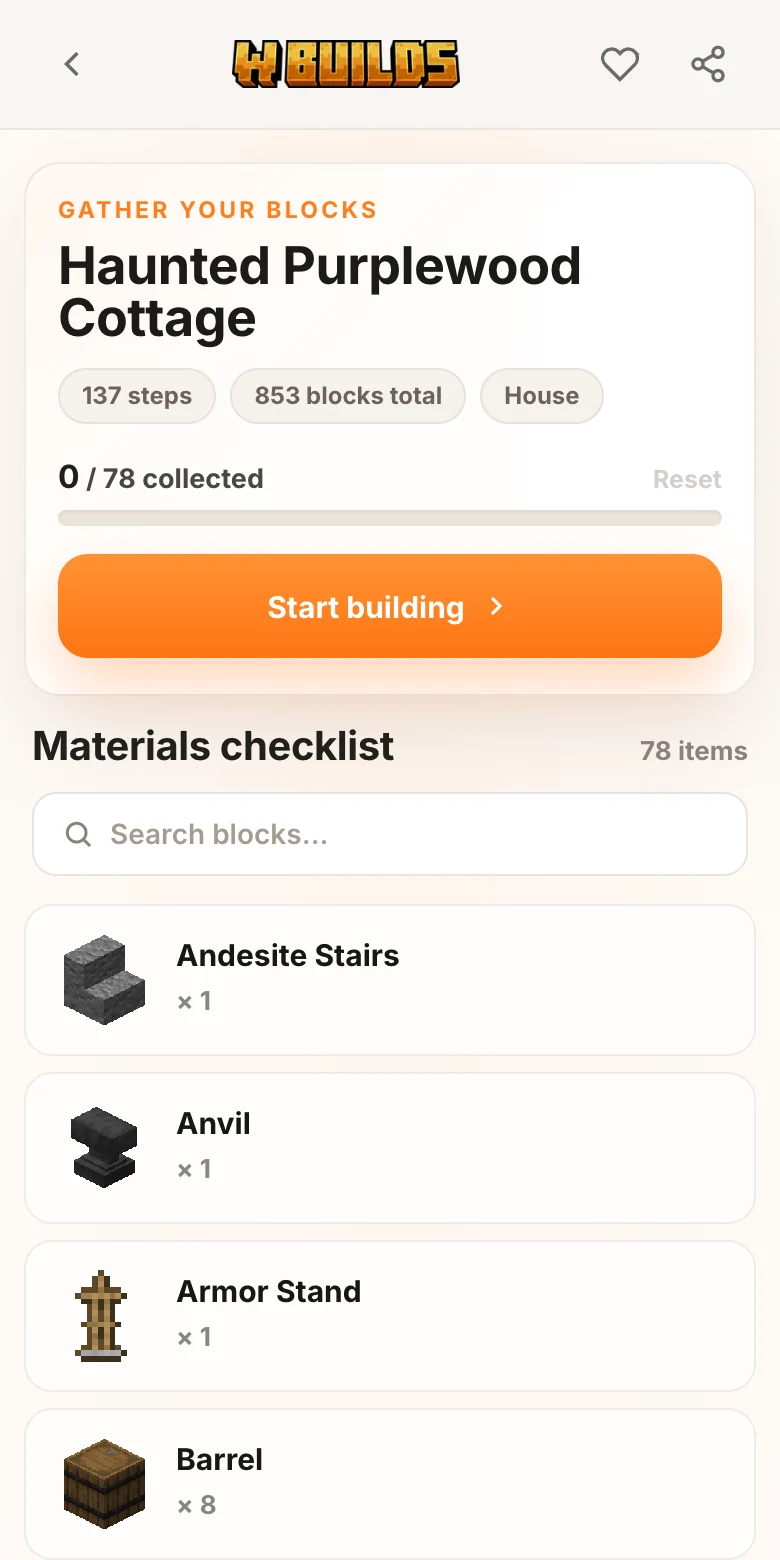
Open any build and tap Start Building. Before the first step, you get the full material list: every block the build needs, with exact counts. Gather them before you start and you won’t have to stop halfway through to mine more stone.
Tick blocks off as you collect them; the checklist is remembered on your device.
2. Follow the numbered steps
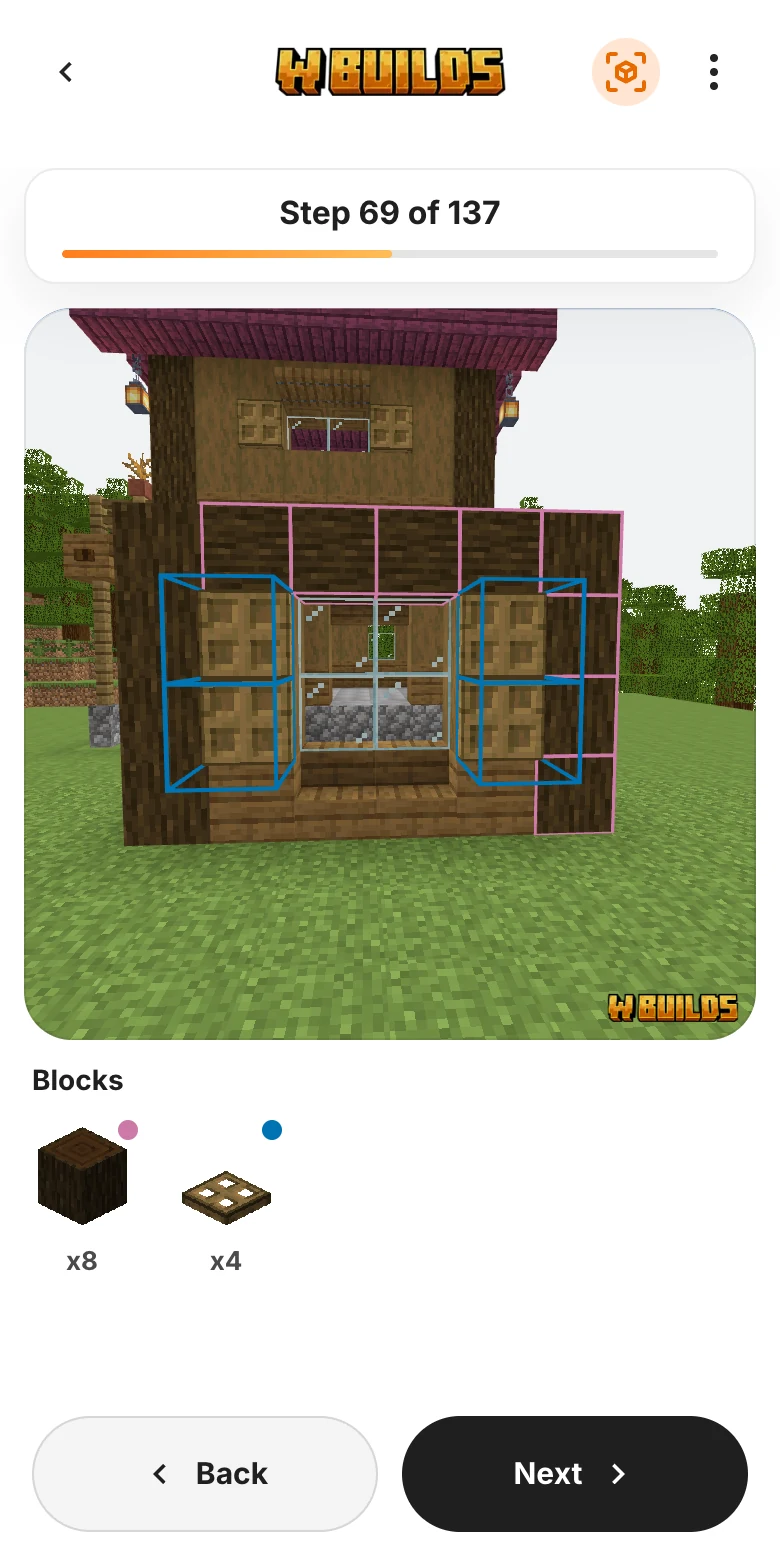
The step screen shows one step at a time. The counter at the top tells you where you are (Step 69 of 137, for example), and the bar under it fills as you go.
- Next and Back move one step at a time.
- On a computer, the arrow keys do the same.
- Tap the picture to open it full screen.
Some entries are marked Move to Area instead of a number. Those aren’t building steps. They tell you to walk to the next part of the build.
3. Look at the blocks for this step
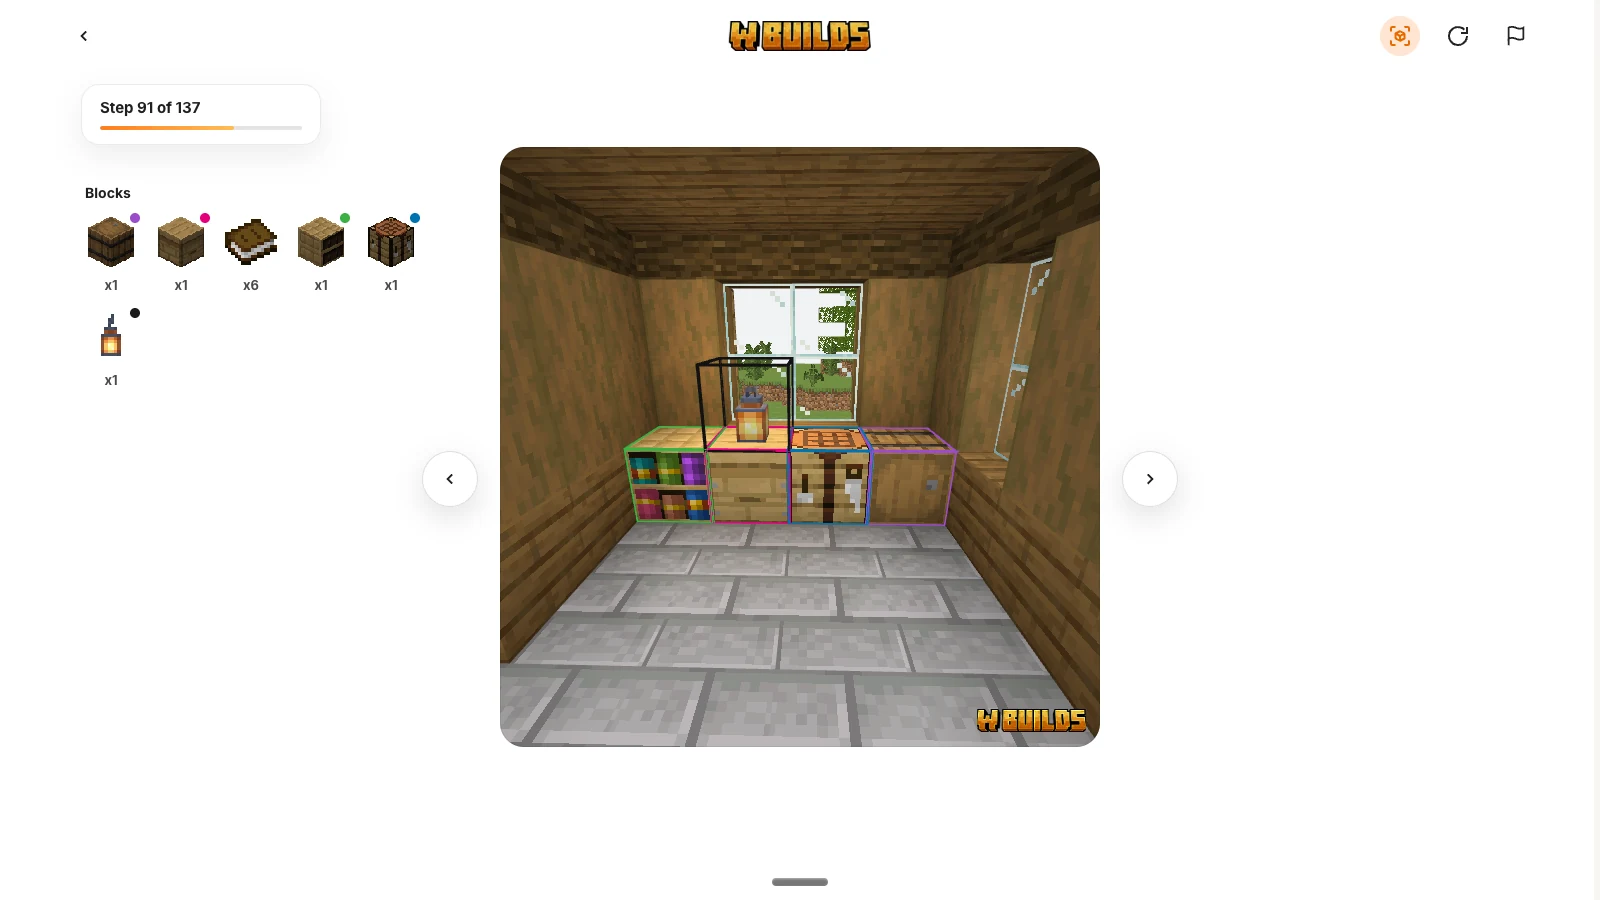
Under each picture is the list of blocks that step uses, with how many of each. The colored dots match the outlines in the picture, so you can see exactly where each block goes.
4. Switch to 3D when you need another angle
For builds that have a 3D model, the cube icon in the top bar switches the picture for a 3D view you can rotate. It follows the steps with you, so you can flip between the picture and 3D at any point.
5. Pick up where you left off
Close a guide halfway and come back later: the Start Building button becomes Continue Building and takes you straight back to your step. The restart icon in the top bar starts the build over from step one.
Found a step that looks wrong? The flag icon opens a report you can send us on Discord or Reddit, so we can fix it for everyone.